Monday, September 19, 2011

It seemed like a good idea at the time

The first time I opened Lucy’s door I was hit by the smell. Not a good smell, that awful musty smell you get when caravans are locked up for months on end. I thought cleaning it & opening all the windows would freshen it up. Nup. I soon realised a lot of the smell was coming from the cushions & mattresses. I quickly hoyed them all out the door & noticed as I did so, there was mould under the dining cushions. Yuck. We’d have to replace all the cushions. We measured up, took our measurements off to Clark Rubber & found out that foam rubber is priced similarly to printer ink!!!! To replace the 2 single mattresses & the 4 cushions in the dining area was going to cost the best part of $1000. Time to think of plan B which never takes me long. The dining lounges aren’t very big so I figured I could wash them. If it worked, great, if it didn’t I hadn’t lost anything.

foamfoam wash

I took the cover off, put the cushion in a bath full of water, threw in some liquid laundry detergent & jumped in & started walking up & down. It was just like the episode of I Love Lucy where Ethel & Lucy were treading grapes. Molly thought I was great for entertainment value so I kept going. I think she would loved to have jumped in & helped.

foam Molly

I left the cushion to soak & I turned it over every so often, with great difficulty as it weighed a ton. I replaced the water a few times & threw in some bleach to kill off any mould. Then the fun bit, getting water out of high density foam isn’t easy. I pushed & squeezed & folded the foam as much as possible in the bath, then we carried it out to the back verandah & see-sawed a heavy bench up & down on it. This did take out some of the water. My next idea was to put plastic on it & under it & run over it with the car. Not a bloody drop of water came out, but I’m sure if the neighbours were watching, they were entertained. So we’ve just put it in the sun & any breeze hoping it will dry out.

It seems to have worked so I attacked cushion #2. This time to get the water out we took the table out of my sewing room, covered the cushion with a drop sheet, laid the table on the foam, upside down & stood on it. I should have taken a pic. This worked really well & squished the foam down to about an inch thick. For once I was glad I’d put on weight, lol. With the weather warming up a bit, & the winds we have at the moment, I think this one will dry a lot quicker than the last.

Saturday, September 17, 2011

Stripping, it’s harder than you think.

With the inside clean it was time to start work on the outside. Paul had been champing at the bit to start stripping, the paint that is!!!

When we first bought the van we’d only seen photos & silly me assumed that because the van was painted last year the paint would be in good condition & could just be repainted. Then it arrived & we saw the paint was in poor condition & was peeling off. My next mistake was to think because it was peeling so badly it would be easy to remove. We started out with paint scrapers, but that was not going to be enough, so out came the sanders. They worked but were pretty slow going. The top colourful coat is thick so it takes quite a while to get through it down to the base coat. Next I thought maybe paint stripper would speed things up, wrong. It turned the top of the top coat to liquid but basically just made a big mess & only took some of the paint off. So then we had to wait for the residual stripper to dry out so we could go back to sanding. Paul then suggested we try a heat gun. Woohoo it works. It’s still hard work & after spending 6 hours stripping the door & a section next to it I then could hardly move for 3 days as my arms & shoulders were so sore. Back to slow & steady but at least we now know how to get the paint off.

In the meantime we took the front window out, removed the damaged putty, stripped the window & reputtied it. I also took the fly screen off the window which was obviously never designed to be replaced as I had to remove the timber window strips to get to the screen which was just copper mesh stapled to the window frame. It was torn so I had no choice. Some of the holes had been blocked with Blu-Tac, it worked, but I wanted something a little more aesthetically pleasing, lol.

front window

After i removed the pelmets. It says ‘Back’ but it is on the front.

front window2

What was left of the putty at the bottom of the window had seen better days so we scraped it out.

front window3

The putty on the other side had been redone, badly, but hadn’t cured so we took it out. Apparently you have to paint it between 2 & 8 weeks after you putty & this hadn’t been done.

front window4

A bit of wood filler soon fixed this joint.

front window5

Scrape, scrape, scrape. This was before we discovered the joy of the heat gun.

front window6

Scraped & sanded ready for some undercoat. We needed to get this all done quickly as it was booked in for rego 2 days later day. We bought new hinges & put it back in . The old ones were pretty rusty. I’m guessing all the windows will need the same attention.

Rego was a breeze we just need to replace the red reflectors with white ones.

Molly

Molly came to check out what all the excitement was in the funny thing in the front yard but wasn’t very impressed.

Wednesday, September 14, 2011

Bits & bobs for Lucy

canisters

I spotted these canisters at my fave vintage shop & they are just perfect for Lucy. They’re just the colours I’m planning to use in her.

floral for Lucy

I plan to use the 2 beds as lounges as Lucy will mainly be used for day trips. This means I’ll need lots of comfy cushions so I’ve started making some. I’d bought this fabric months ago thinking it would be nice for cushions.

crinoline lady for Lucycrinoline lady for Lucy close

I’d stitched this months ago & finally took time to turn it into a cushion. If you like the embroidery design it’s a freebie I found online:

http://www.wikihow.com/Embroider-the-Crinoline-Lady-Motif

I plan to stich it again, only next time I’ll colour it with crayons.

scottie for Lucyscottie for Lucy close

He’s so cute & very quick to stitch. Another online freebie:

http://www.thebabygardner.com/blog/2008/09/free-vintage-embroidery-pattern-courtesy-of-heather-hales/

I’m going to try & keep the put things in Lucy that suit the era she was made so I decided to crochet a dish cloth as I’m sure they didn’t have Chux then.

dishcloth

I found a lovely green ball of cotton on sale. I did a little googling & ended up making up my own design. Very simple really.

Using a 4mm crochet hook I made 40 chain. Skip the 1st 2 chain & do a *half double crochet (hdc) into the 3rd. Continue to work hdc in each chain across the row.
Turn, work 2 chain, then continue with the hdc’s.
This is the pattern.
Keep working until your cloth is square. I then worked a shell pattern around the edge.
Work 5 double crochet into one space, skip 2 spaces, do a single crochet, skip 2 spaces then work 5 dc’s. Continue around all 4 sides.

I hope this makes sense, although I’ve been crocheting on & off for decades my skills are very basic.

*Half Double Crochet

Yarn over hook.
Insert hook in the next stitch to be worked.
Yarn over hook.
Pull yarn through stitch.
Yarn over hook.
Pull yarn through all 3 loops on hook (one half double crochet made).

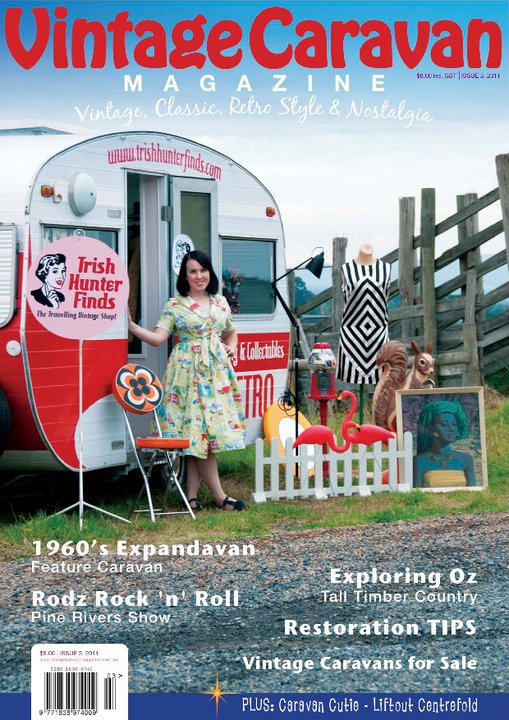
Vintage Caravan Magazine

I was rapt to find this new mag on the market. After fruitlessly checking out quite a few newsagents I decided to subscribe. Ah so easy & I was able to start my subscription with Issue 1. Just a few days after I subscribed issues 1, 2 & 3 arrived.

http://www.vintagecaravanmagazine.com.au/

& they have a Facebook page: http://www.facebook.com/vintagecaravanmagazine

My Cool Caravan

I ordered this gorgeous book a few months back but when it arrived I found I couldn’t even look at it. We’d been trying to get a van for quite a while & always seemed to just miss out. I was at the stage where I thought we’d never find one, so looking at the book was just too hard, lol. The day we finally bought Lucy, I had that book out & a mug of tea in my hand, so I could finally devour every page. YUMMO!!!

Day 1

Lucy joined our family on Wednesday the 17th of August. She’s really awful on the outside, but very pretty on the inside. The fact that she is so original, where it counts, was what made her so appealing.
doorfrontsidebeds beforecupboarddining beforekitchen
I meant to take pics as soon as she arrived but I was so keen to start cleaning I forgot. She smelt incredibly musty so I just needed to get everything open to let some fresh air in. Unfortunately the cushions are all mouldy underneath, which certainly added to the smell, so I hoyed them all out the door.
We managed to find some pics of her before the garish paint job.
brand new
Here she is brand, spanking new in 1956 or 7.
Don1
A couple of more recent shots.
Don3Hard to believe it’s the same van!
I haven’t decided what colours to paint Lucy yet, I’m not trying to replicate her original look, as it was a bit boring. Smile
Lucy is a Don Cadet. Don caravans were made in Oakleigh Melbourne, between 1934 & the early 60’s.
For a potted history of Don Caravans, with some great pics: